Updates to SpruceID’s Developer Documentation
We've revamped our developer documentation and mobile SDKs to simplify integrating verifiable digital credentials into your apps.
RainbowKit provides an easy and convenient way for users of your dapp to connect any wallet they have so they can Sign-In With Ethereum and get started using it. In this example, we will show you how to quickly create a new dapp that uses RainbowKit and Sign-In with Ethereum with SSX.

RainbowKit provides an easy and convenient way for users of your dapp to connect any wallet they have so they can Sign-In With Ethereum and get started using it. In this tutorial, we will show you how to quickly create a new dapp that uses RainbowKit and Sign-In with Ethereum with SSX.
This guide will show you how to:
Let's get started.
To get started, we will use SSX’s dapp creation tool. Type the following into your terminal:
yarn create @spruceid/ssx-dapp rainbowkit-example
In this tutorial, we are using a project with the following configuration:
✔ Would you like to use TypeScript? … Yes
✔ Which will be your default provider? › MetaMask
✔ Which features would you like to enable? › None
✔ Provide the SSX enabled server URL (leave blank if none) …
After you have created the project, navigate to the rainbowkit-example directory you just created and add dependencies with the following commands:
yarn add @spruceid/ssx-react @rainbow-me/rainbowkit wagmi
Go to src/index.tsx and add the following to wrap your <App /> component with <WagmiConfig />, <RainbowKitProvider/> and <SSXProvider/> components, making it look like the following:
/** src/index.tsx **/
import React from 'react';
import ReactDOM from 'react-dom/client';
import { RainbowKitProvider, getDefaultWallets } from '@rainbow-me/rainbowkit';
import { goerli, mainnet, configureChains, createClient, WagmiConfig } from 'wagmi';
import { publicProvider } from 'wagmi/providers/public';
import { SSXProvider } from '@spruceid/ssx-react';
import App from './App';
import './index.css';

const { chains, provider } = configureChains(
  [mainnet, goerli],
  [publicProvider()]
);

const { connectors } = getDefaultWallets({
  appName: 'SSX Rainbow Kit Example',
  chains,
});

const wagmiClient = createClient({
  autoConnect: true,
  connectors,
  provider,
});

const root = ReactDOM.createRoot(
  document.getElementById('root') as HTMLElement
);

root.render(
  <React.StrictMode>
    <WagmiConfig client={wagmiClient}>
      <RainbowKitProvider chains={chains}>
        <SSXProvider>
          <App />
        </SSXProvider>
      </RainbowKitProvider>
    </WagmiConfig>
  </React.StrictMode>
);
At src/App.tsx some changes are required to hook SSX and RainbowKit together. Add the following imports and update the App component as the code below:
/* src/App.tsx */

import { useEffect, useState } from 'react';
import { useConnectModal, useAccountModal, ConnectButton } from '@rainbow-me/rainbowkit';
import { useSSX } from '@spruceid/ssx-react';
import { SSXClientSession } from '@spruceid/ssx';
import { useSigner } from 'wagmi';
import logo from './logo.svg';
import './App.css';
import '@rainbow-me/rainbowkit/styles.css';

function AccountInfo({ address }: { address: string }) {
  return (
    <div className="App-account-info">
      <h2>
        Account Info
      </h2>
      {
        address ?
          <p>
            <b>
              Address
            </b>
            <br />
            <code>
              {address}
            </code>
          </p> :
          <p>Signing in...</p>
      }
    </div>
  );
};

function App() {
  /* SSX hook */
  const { ssx } = useSSX();
  /* RainbowKit ConnectModal hook */
  const { openConnectModal } = useConnectModal();
  /* RainbowKit Account modal hook */
  const { openAccountModal } = useAccountModal();
  /* Some control variables */
  const [session, setSession] = useState<SSXClientSession>();
  const [loading, setLoading] = useState<boolean>(false);
  const { data: provider } = useSigner();
  useEffect(() => {
    if (ssx && loading) {
      /* Sign-in with SSX whenever the button is pressed */
      ssx
        .signIn()
        .then(session => {
          console.log(session);
          setSession(session);
          setLoading(false);
        })
        .catch(err => {
          console.error(err);
          setSession(undefined);
          setLoading(false);
        });
    }
  }, [ssx, loading]);

  useEffect(() => {
    if (!provider) {
      setSession(undefined);
      setLoading(false);
    } else {
      setLoading(true);
    }
  }, [provider]);

  const handleClick = () => {
    /* Opens the RainbowKit modal if in the correct state */
    if (openConnectModal) {
      openConnectModal();
    }
    /* Triggers the Sign-in hook */
    setLoading(true);
  };

  return (
    <div className="App">
      <div className="App-header">
        <img src={logo} className="App-logo" alt="logo" />
        <span>SSX</span>
        {openAccountModal && provider ? <ConnectButton /> : <></>}
      </div>
      <div className="App-title">
        <h1>SSX Example Dapp</h1>
        <h2>Connect and sign in with your Ethereum account</h2>
      </div>
      <div className="App-content">
        {!openConnectModal && provider ? (
          <>
            <AccountInfo address={session?.address ?? ""} />
          </>
        ) : (
          <button onClick={handleClick}>SIGN-IN WITH ETHEREUM</button>
        )}
      </div>
    </div>
  );
}

export default App;
Finally, replace your CSS in src/App.css with the following to style everything:
/* src/App.css */
.App {
  text-align: center;
  display: flex;
  flex-direction: column;
  align-items: center;
  color: white;
  height: 100vh;
}

.App-content button {
  border: none;
  width: 100%;
  padding: 16px 24px;
  color: white;
  background: linear-gradient(107.8deg, #4c49e4 11.23%, #26c2f3 78.25%);
  border-radius: 12px;
  cursor: pointer;
  font-weight: 500;
  font-size: 16px;
  transition: all 150ms ease 0s;
  margin: 16px 0px;
}

.App button:disabled {
  pointer-events: none;
  opacity: 0.7;
}

.App button:hover {
  transform: scale(1.01);
}

.App-header {
  width: calc(100% - 128px);
  text-align: left;
  padding: 16px 64px;
  display: flex;
  align-items: center;
  background-color: #212121;
}

.App-header span {
  font-weight: 600;
  font-size: 32px;
  margin-right: auto;
}

.App-title {
  margin-top: auto;
}

.App-title h2 {
  font-weight: 400;
  font-size: 16px;
  color: #667080;
}

.App-logo {
  height: 40px;
  pointer-events: none;
  margin-right: 16px;
}

.App-content {
  margin-bottom: auto;
  width: 450px;
  max-width: 100%;
  background-color: rgba(39, 39, 39, 0.7);
  backdrop-filter: blur(2px);
  border-radius: 12px;
  padding: 30px;
}

.App-content h1 {
  font-size: 32px;
  line-height: 48px;
}

.App-account-info {
  margin-top: 16px;
  padding: 16px 8px;
  border: 1px solid #555555;
  border-radius: 12px;
  text-align: left;
}

.App-account-info b {
  color: #667080;
}
Now try running the application by running the following commands:
yarn install
yarn start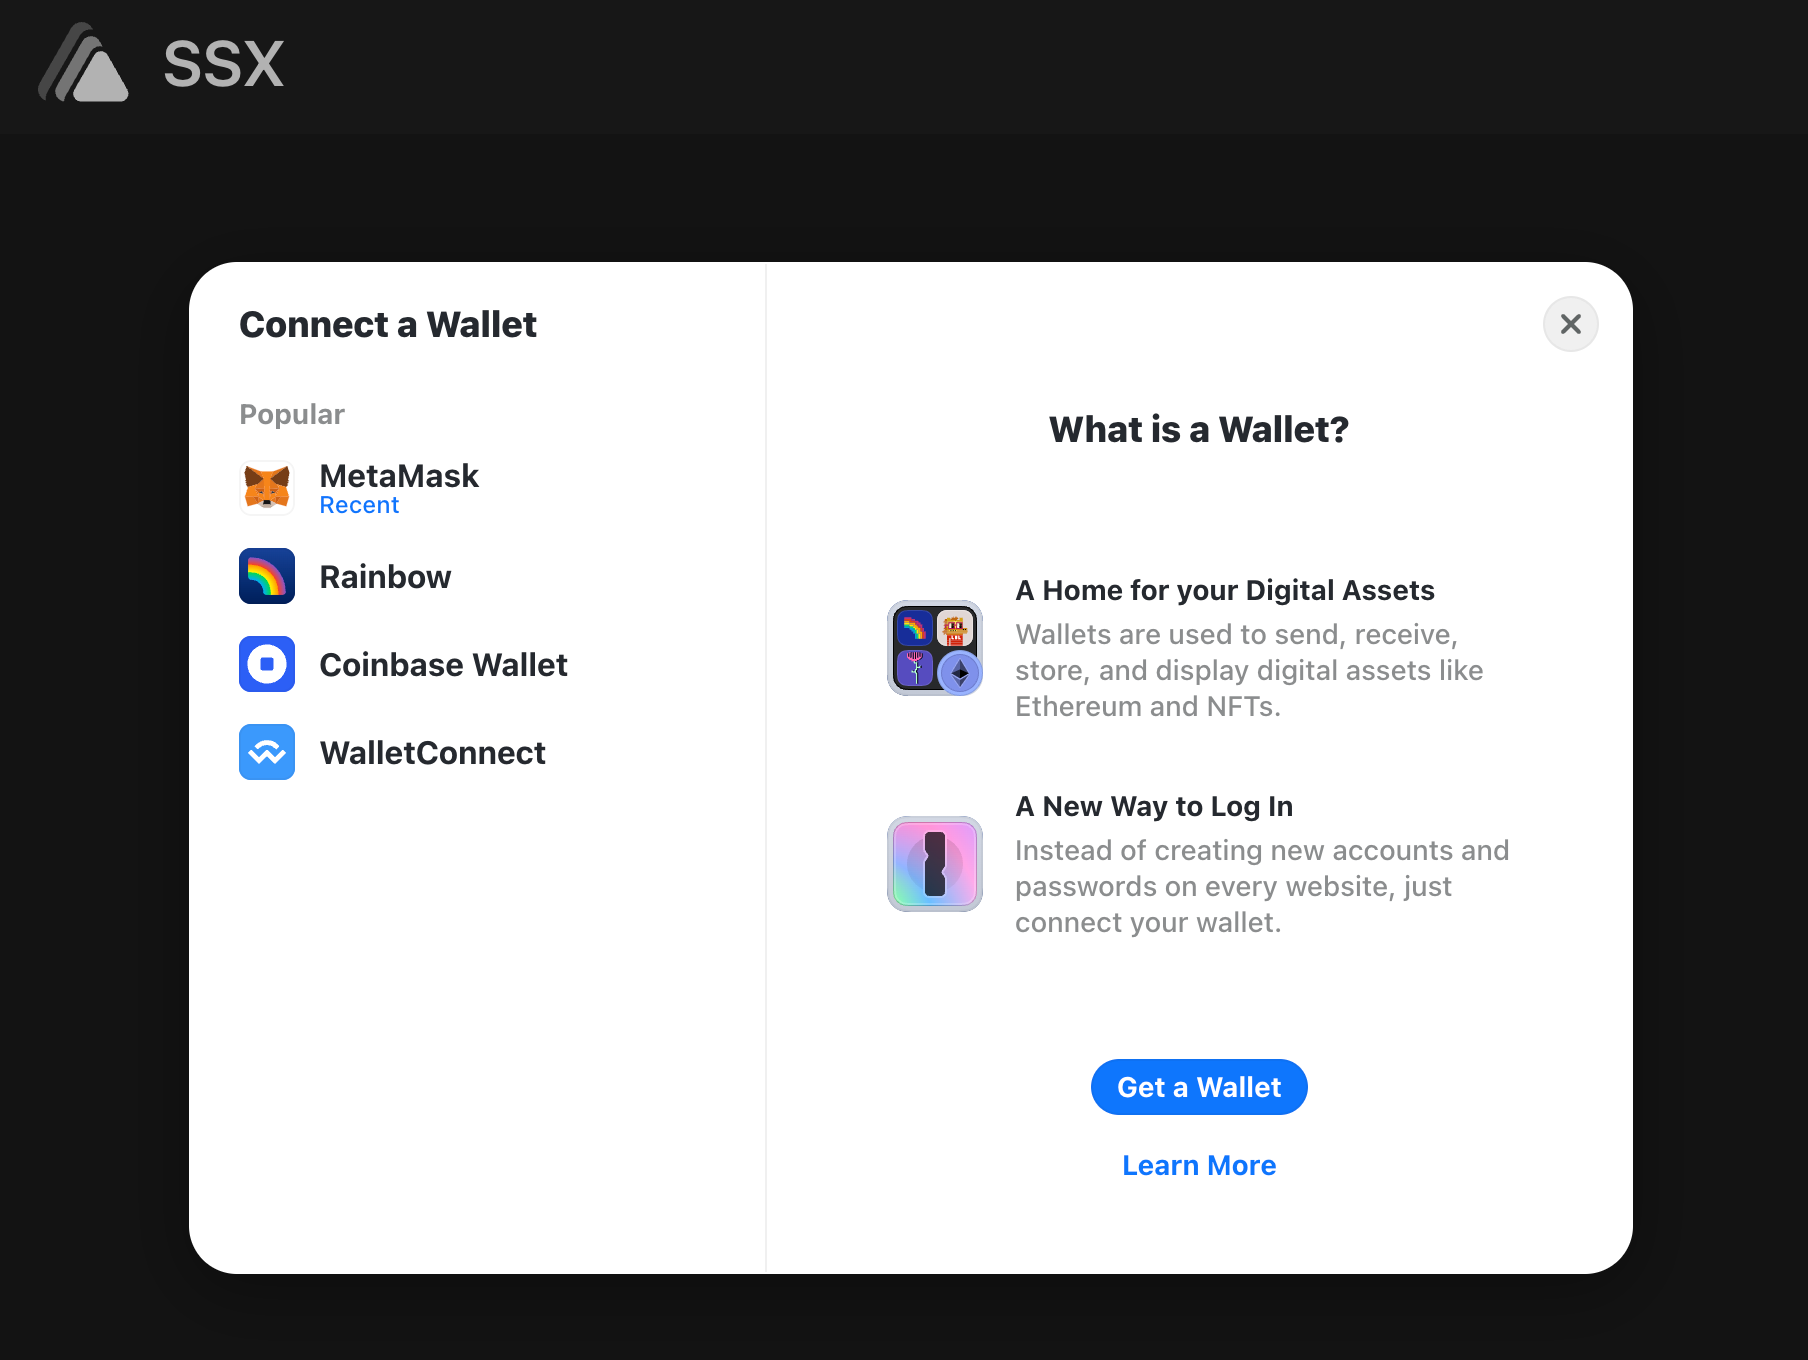
And there you have it! If you want to learn more about what you can do with SSX, check out our documentation.
We want to support any developer looking to integrate Sign-In with Ethereum, no matter the requirements. As we continue to build out SSX, we invite you to request any features or examples you want. Alternatively, we also welcome all open-source contributions to SSX from developers.
About Spruce: Spruce is building a future where users control their identity and data across all digital interactions. If you're curious about integrating Spruce's open-source libraries, such as Sign-In with Ethereum or SSX (as described here), into your project, chat with us in Discord or check out our libraries on GitHub.